So the old one is on the left of the picture and the new one is on the right, and before I go into more details about the new redesign let me just mentioned a couple of points about the old design.
This printer uses a couple many parts that had only minor adjustments that i should give credit for. The X ends are based on the Prusa I3 parts, and the X carriage and the extruder holder are parts I downloaded from thingiverse, and the extruder is the a classic Wades.
The first thing I wanted to try with this printer was the vertical X-axis, something I wanted to try ever since I say them on the Huxley printer and so that was adopted here using Prusa I3 parts. The main advantage I see using them here is that the Hot-end gets more visible and so more accessible, but not that much more. So in order to improve this I redesigned this part, dropped the geared extruder and went with direct drive 1.75mm on the second iteration.
All the plastic part on this printer are made of PLA, but not such a great one, and that added to the fact that the printer I used to print them was almost dying mechanically it resulted in poor parts quality and the requirement of some glue and zip-ties to hold the thing together!
And one part that I did not spend enough efforts to make it presentable was the wiring. No words here :)
So I started redesign it to make it simple to assemble mechanically as I did not wanted to spend time checking to see if the rods are levelled or at the right distance. In order to get this I kept my choice on the aluminium extrusions and the brackets to get them together and the result is a frame that takes 5 minutes to get together, and it will keep all the rest of the parts in place.
In order to get the same easy of process to the Y smooth rods what I did was to use a CNC to cut the acrylic parts where the rods sit. This added to the precision cutting of the aluminium extrusions allow for the easy assembly of the basic frame.
One thing that I did was to increase a little the outside dimensions and I could use this to get a slighter big print area but did it just to be able to reach each component easily, especially the ones inside the "acrylic box" that makes the base of the printer.
Wiring is still not perfect!
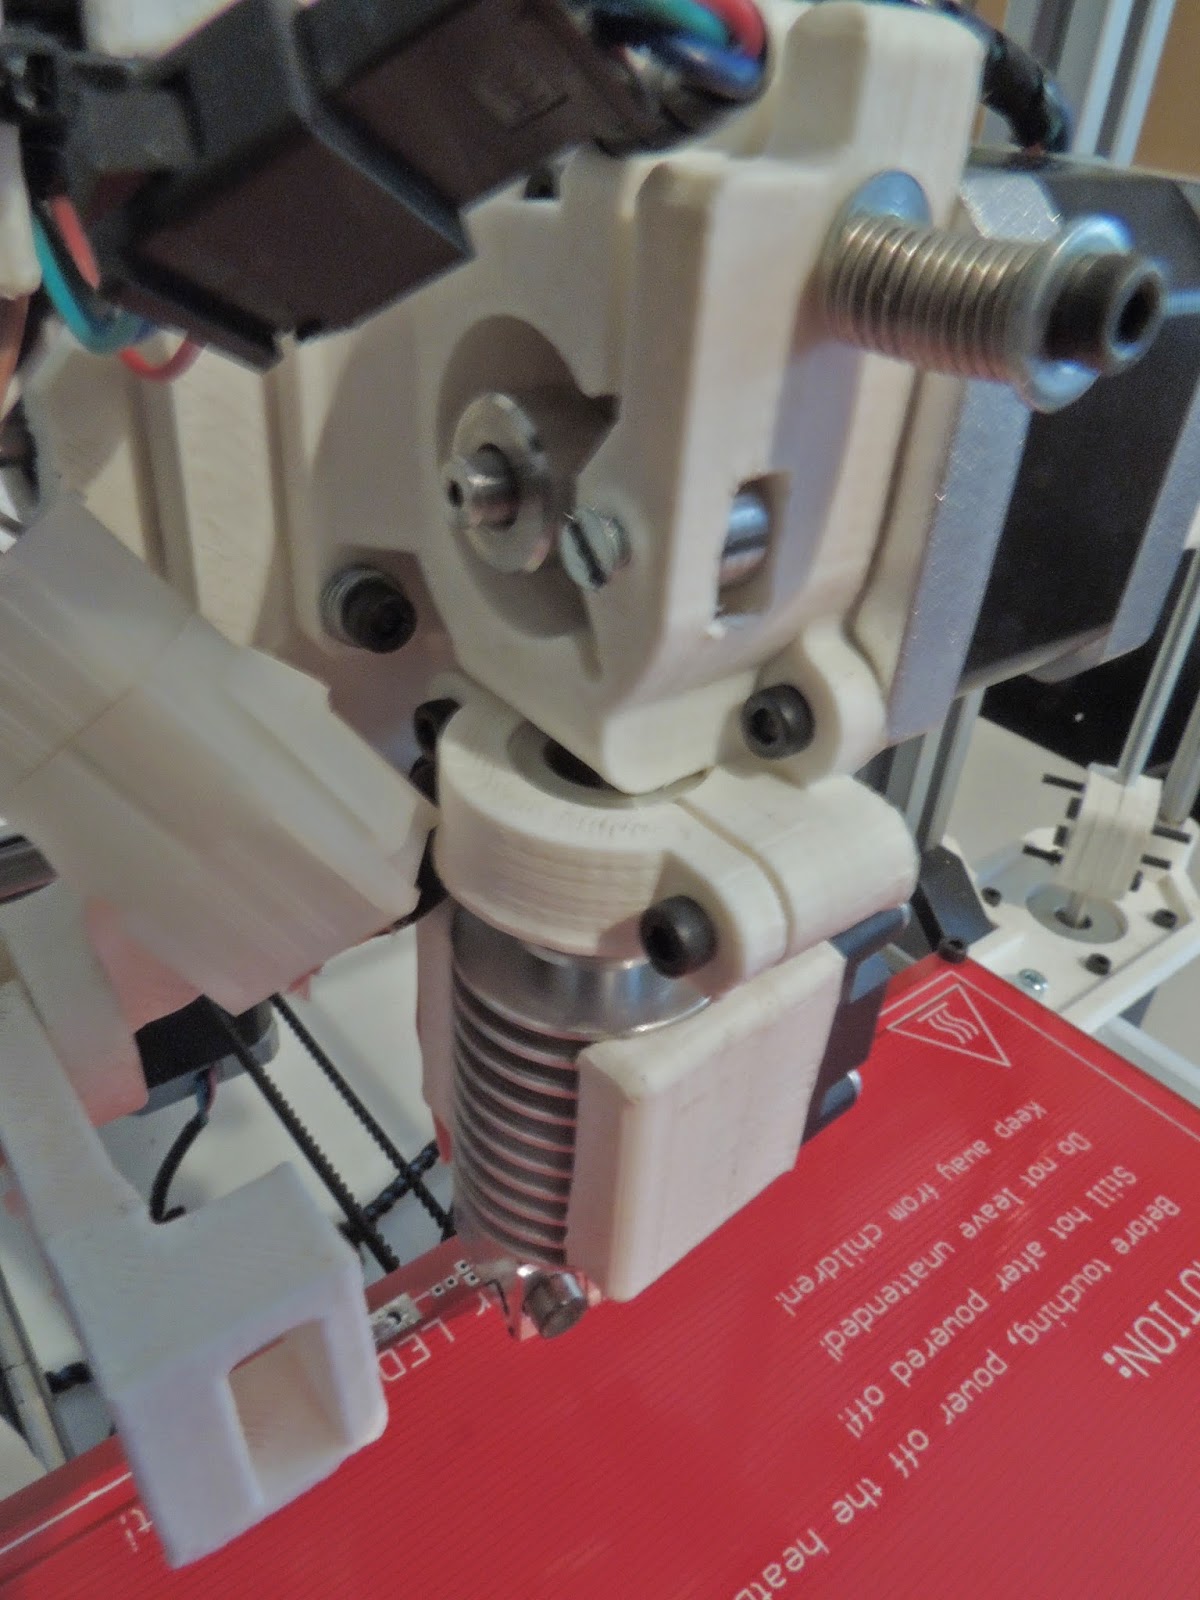
Then I got to the extruder, and here I adopted the extruder on the Kossel printer, reworked it to fit in my carriage and to be direct drive instead of bowden.
I still need some minor corrections so that it does not allow dust to get into the hot-end, and I want to add a cooling fan for the printing part, but it is working. For the hot-end on this new printer I choose an E3D 1.75mm, and it has been performing great, booth with PLA an ABS. I changed hot-end on this redesign to try one the full metal hot-end, not that I have anything against J-head. The j-head that I have on the first version of this printer is actually my first hot-end and its going to make 2 years next month!
But now that I´m working with the two filaments diameters I will probably choose just one for the future - most likely 1.75mm - so that I can have a better management of resources, so that 3mm J-head might see retirement soon...
Also note that the extruder and hot-end hold to the x-carriage by two screws so its very easy to remove it for maintenance or to use a different set-up.
Here are a couple more pictures:
Y-motor that allows me to adjust the belt tension.
One thing I need to address is the spool, I´m not happy with the current solution...
The hole next to the z motor is for the USB cable, and the one on the front is for the SD-Card.
Vase printed on the new Printer -ABS
Some test parts on the old printer -PLA
And recently I have been trying the glue stick on glass to print with ABS, and on the first tests I did not get any curling or detachment of the parts while printing. My print bed was set to 105º all the time.And to finish this long post some parts with the ABS smoothing treatment.
Cheers, have fun and print!


